
Reviewed · PHOTOGRAPHY SESSIONS
Lisbon Photography Masterclass – Private Photography Lesson
Lisbon teaches you to see. This private photo masterclass turns the city into an outdoor classroom, with a professional photographer guide helping you frame streets, trams, and viewpoints the way locals do. You get a guided route through Alfama and classic miradouro spots, then learn how to use your own camera more confidently as you go.
What I like most is the hands-on pace. You’ll get personalized coaching while you walk the neighborhoods and stop at specific shooting moments, so you aren’t stuck with generic photo tips. I also like that the lesson is built for different experience levels, from first-time shooters to hobbyists who want a clearer creative direction.
One thing to consider: if you plan to do longer exposure work at night, gear compatibility matters. In one case, a rented tripod didn’t match the adapter system well enough for smooth shooting, so the photos didn’t turn out as hoped. If you have specialized brackets or a unique tripod setup, it’s smart to plan ahead so you don’t lose time at the viewpoints.
In This Review
- Key things to know before you go
- Why Lisbon is such a strong subject for photography
- Price and value: what $177.44 buys you in real time
- Meeting at SOL Restaurante e Jardim and what the timing feels like
- Alfama: street textures, hidden angles, and quick lessons in composition
- Portas do Sol: when you’re shooting both light and mood
- Miradouro da Graça (Sophia de Mello Breyner Andresen): learning to shoot a skyline
- Miradouro Da Senhora Do Monte: a viewpoint that rewards patience
- Miradouro São Pedro de Alcântara: balancing people, patterns, and perspective
- Elevador da Gloria: shooting movement and lines in Lisbon style
- Bairro Alto and Lisbon Cathedral: closing with story photos
- Camera coaching you can reuse on your next trip
- The tripod issue: how to avoid losing time with adapters
- Who this masterclass suits best
- Should you book Lisbon Photography Masterclass?
- FAQ
- How long is the Lisbon Photography Masterclass?
- Is this experience private?
- What language is the lesson offered in?
- What’s included in the price?
- Do I need to bring a camera?
- Where does the tour start and end?
- Does it run in bad weather, and how does cancellation work?
Key things to know before you go
- Private, one-group tour with a professional photographer guide and a local guide
- 3 hours in prime photo territory, from Alfama to multiple miradouros
- Built around real shooting moments, not just camera talk
- You bring your camera (tripod is available to rent)
- Operates in all weather, so expect a plan for clouds and drizzle
- Multiple vantage points by design, so you get both street-level scenes and wide views
Why Lisbon is such a strong subject for photography
Lisbon is one of those cities where light feels made for photos. You’ll see walls in soft pastel tones, rooftops stepping up hills, and streets that twist like they’re designed to hide a perfect angle. Even before the photographer starts explaining settings, you’re surrounded by shapes that naturally frame your shots.
The big win here is that you’re not trying to figure out where to stand alone. A professional photographer guide helps you read the city fast: where the light will land, where lines converge, and which viewpoints give you that wide “postcard” perspective without it looking like every other tourist photo.
And since it’s private, you can ask questions as you go. That matters because photography advice works best when it’s attached to the exact scene in front of you, not when you try to remember it later.
Worth a look before you lock anything else in around Lisbon:
- True 4Hour Private Tuk Tuk Tour: Discover Lisbon with a Local!
★ 5.0 · 8,008 reviews - Lisbon: Private Guided Tuk-Tuk Tour with Hotel Pickup
★ 4.9 · 4,552 reviews - Private Lisbon Sightseeing Tuk-Tuk Tour: Alfama, Belém & More
★ 5.0 · 4,277 reviews - Lisbon Highlights: Private Tuk Tuk Tour Adventure Sightseeing
★ 5.0 · 3,284 reviews
Price and value: what $177.44 buys you in real time
At $177.44 per person for about 3 hours, you’re paying for a high-touch experience: two guides (a local guide plus a professional photographer guide) and time spent focusing on your camera and your style. This isn’t a bus tour where you glance out a window and hope for the best.
The value really comes from the teaching format. City photography is tricky because conditions change quickly: sun shifts, crowds appear, and the best angle might be two turns away. A guide who’s working locally can help you spend less time wandering and more time shooting with intention.
Here’s the practical way to think about it: if you want a few great photos and you’ll happily learn the basics on your own, you can self-tour. If you want your camera to feel easier and you want a plan for specific viewpoints and street scenes, this kind of lesson usually makes more sense.
Meeting at SOL Restaurante e Jardim and what the timing feels like
Your start point is SOL Restaurante e Jardim, Largo das Portas do Sol, Beco de Santa Helena, 1100-411 Lisboa, Portugal. The activity ends back at the meeting point, so you’re not stuck building a new route to finish.
Because it’s about 3 hours, you should expect a steady rhythm: shoot, walk, shoot again. Lisbon’s hills and stairs can add up, so if you’re traveling with aching knees or you hate slow climbs, plan for breaks and wear shoes you trust.
Also, since this runs in all weather conditions, bring clothing that lets you keep moving if it’s cool or damp. Cloudy days can still produce excellent city photos—you just need the right framing and exposure choices—and that’s where the guide’s coaching can help.
Alfama: street textures, hidden angles, and quick lessons in composition
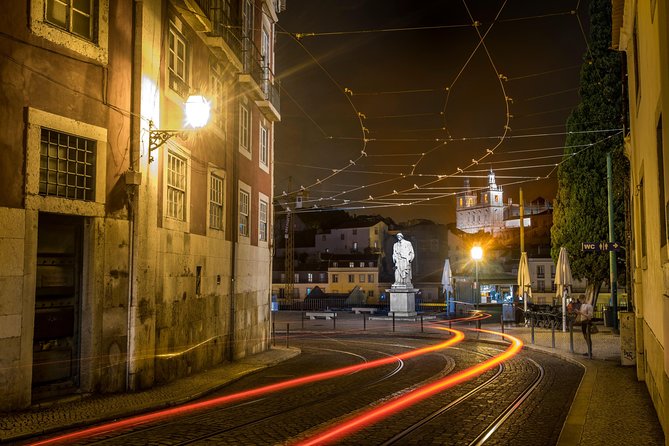
Stop 1 is Alfama, and this is where the tour earns its keep. Alfama is all about old-world street texture: uneven stone, curved corners, and doorways that turn into natural frames. Even if you’ve never used anything beyond automatic mode, this is the kind of neighborhood where simple composition rules start to click.
Expect to practice how to separate a distracting foreground from the main subject. In areas like this, “good enough” photos often happen when you:
- choose one clear focal point (a person, a tile detail, a doorway)
- keep horizons from cutting the scene in a messy way
- use nearby lines—walls, alleys, stair steps—to lead your eye
A photographer guide can help you spot these moments faster than you would solo. You’ll also get guidance on camera basics in the middle of the fun, which is usually the best time to learn.
Potential drawback: Alfama can be busy, especially around the most photogenic corridors. If you’re hoping for completely empty streets, you’ll need patience. The upside is that city photography often looks better with a little life in it; people make the scene feel real.
Worth a look before you lock anything else in around Lisbon:
Portas do Sol: when you’re shooting both light and mood
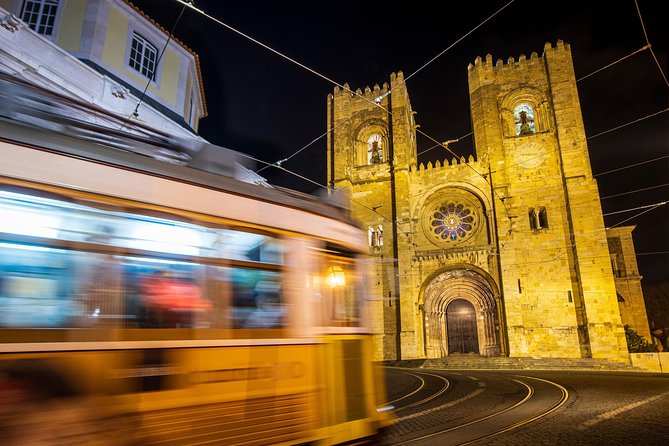
Stop 2 is Portas do Sol, a name that basically screams photo opportunity. This area is known for wide, open-sky views over Lisbon, so it’s a great place to learn exposure discipline. Bright sky can trick your camera, making buildings go too dark or too washed out.
This is also where you’ll likely learn how to think beyond a single frame. You may shoot wide to capture the city’s layout, then move to details—color blocks, rooftops, and the way the terrain folds. Lisbon’s “roller coaster” feel shows up in how streets climb and viewpoints stack.
Practical advice: if your camera has exposure tools like spot metering or exposure compensation, this stop is a strong moment to test them. Even a small change can turn a flat sky into a dramatic backdrop.
Possible consideration: the best angles can be crowded. Use the time to get your settings ready and watch for momentary gaps—someone walks through, a tram passes, clouds shift. That’s the difference between a decent photo and one with a story.
Miradouro da Graça (Sophia de Mello Breyner Andresen): learning to shoot a skyline
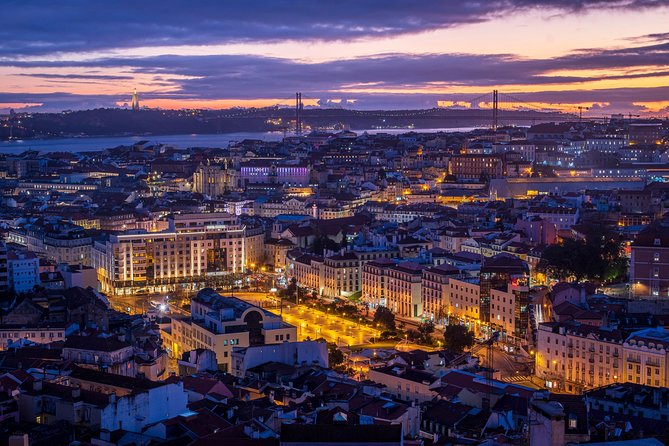
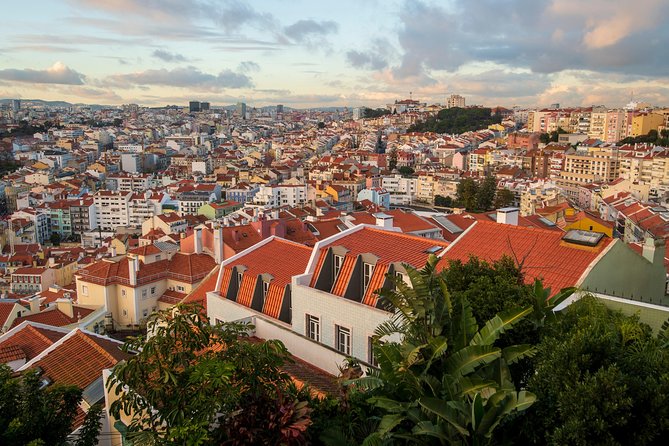
Stop 3 is Miradouro da Graça (Sophia de Mello Breyner Andresen). This is classic viewpoint territory: you’re aiming for depth, layers, and scale. When you photograph a city from above, your challenge is that everything looks small unless you give the image structure.
That’s where the coaching can help. Look for a foreground element—a railing, a pathway, a nearby structure—so your skyline doesn’t float. Then decide what matters most: the rooftops, the river views (if visible), or the pattern of streets and terraces.
This kind of framing lesson is useful far beyond Lisbon. It teaches you how to create depth in any city with hills or varied terrain.
Potential drawback: if the weather is foggy or windy, you might not get the crisp, postcard-level clarity you expected. Don’t treat that as failure. Cloudy light can still produce great tonal images, and your guide can help you adjust your approach for the conditions you get.
Miradouro Da Senhora Do Monte: a viewpoint that rewards patience
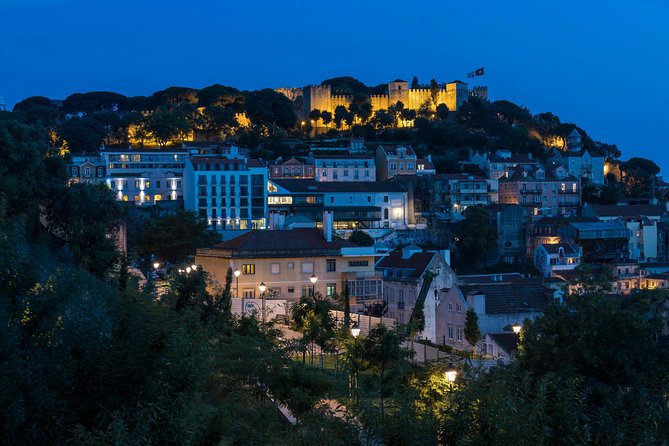
Stop 4 is Miradouro Da Senhora Do Monte. This stop fits the tour’s theme: you keep moving between viewpoints to widen your options. Different miradouros give you different slices of Lisbon’s layout, and that variety is what makes the photo set feel more complete.
This is also where you can practice “series thinking.” Instead of shooting one hero photo and calling it, aim for a small set:
- one wide shot for context
- one mid shot emphasizing a particular street or district
- one detail shot with color or texture
If you’re learning from scratch, this is less overwhelming than trying to master everything at once. You’ll come away with more usable images.
Possible consideration: viewpoints often mean you’re waiting for the right lighting and for people to clear the most centered spots. It’s worth it, but it’s not instant gratification.
Miradouro São Pedro de Alcântara: balancing people, patterns, and perspective
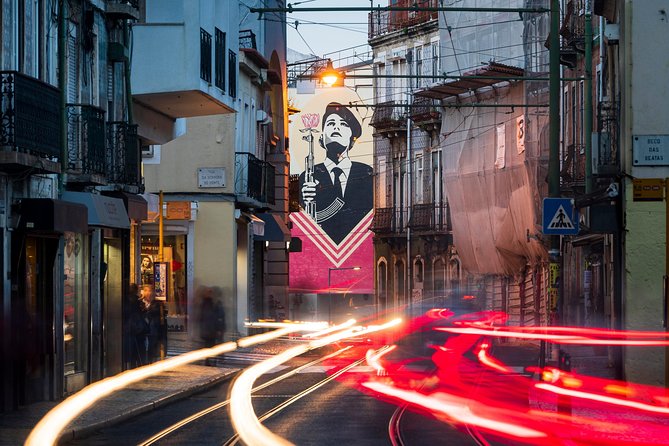
Stop 5 is Miradouro Sao Pedro de Alcantara. This location is great for mixing two styles: wide city views and more human-scale scenes. From here, you can photograph the city’s structure while also capturing people moving through the area.
That mix is an underrated skill in travel photography. A pure skyline shot can look impressive but lifeless. Adding a few grounded elements—someone paused on a terrace, a tram line in the background, a pathway that guides the eye—turns it into a scene with energy.
When the guide helps with framing, pay attention to how they position subjects against the background. The goal is contrast: light against dark, foreground against background, and straight lines against slopes.
Potential drawback: like other miradouros, you may feel a bit of pressure from crowds. If you’re sensitive to busy spots, focus on details and quick frames where the crowd thins and you can reset.
Elevador da Gloria: shooting movement and lines in Lisbon style
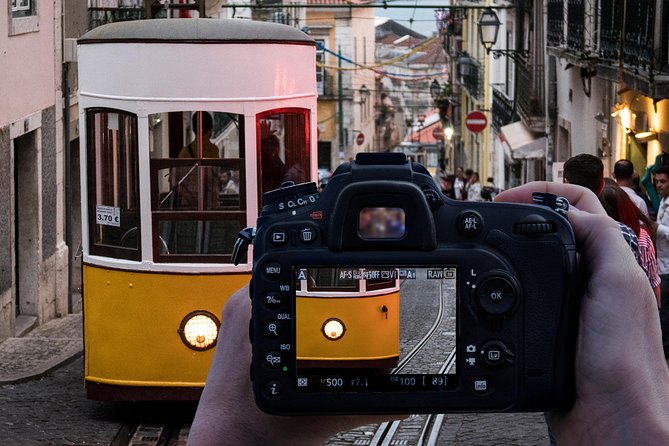
Stop 6 is Elevador Da Gloria. This is a fun shift from viewpoint stillness into something more dynamic. Even without doing anything fancy, you can capture Lisbon’s character through motion, angles, and the way the structure rises through the city.
Use this stop to practice action-friendly framing: keep your camera ready, watch for the tram or carriage to enter your composition, and anticipate where it will be, not where it is now. If your settings are too slow, you’ll get blur. If they’re too fast, you’ll lose the sense of movement. A good guide helps you adjust to what you’re seeing in real time.
This is also a good stop to work on perspective lines. The elevator’s geometry creates strong leading lines that can make your photo feel more three-dimensional even on a two-dimensional sensor.
Possible consideration: this stop can be more “photogenic” than quiet. If you’re hoping for clean, minimal photos, you may need a couple tries while you wait for gaps in the crowd.
Bairro Alto and Lisbon Cathedral: closing with story photos
Stop 7 is Bairro Alto, and stop 8 is Lisbon Cathedral. These final areas help you expand from scenic views into storytelling photos—where architecture and people show what the city feels like.
Bairro Alto brings the city back down to street level. Look for small moments: a conversation near a doorway, street signs, window frames, or the way side streets funnel your eye toward the main thoroughfare. If you’re learning technique, this is where you can apply it immediately. Change your angle, adjust your composition, and try a tighter framing once you’ve seen how the wider view works.
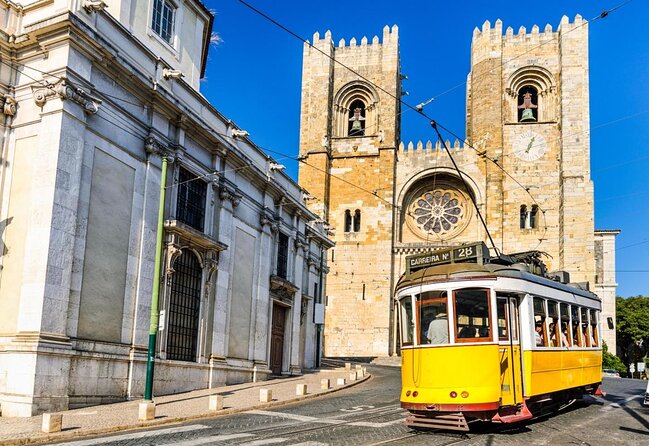
Then Lisbon Cathedral adds a different kind of visual weight. Cathedrals are great because you can shoot both the grand exterior and smaller details—stone texture, edges, and repeating patterns. A guide can help you avoid the common mistake of photographing only the widest shot. Try for a version that highlights geometry and one that includes the surrounding streets so it doesn’t feel like a disconnected monument photo.
Potential drawback: if you’re low on battery or you’ve been shooting nonstop, it’s easy to burn your best energy here. Give yourself a small pace reset. Check settings, clear space on the memory card, and shoot with intention for the last stretch.
Camera coaching you can reuse on your next trip
What makes a photography lesson like this useful isn’t just Lisbon. It’s how you learn to think. You’ll spend the session on basic techniques and how to capture city photos, but the bigger lesson is the mental workflow:
- observe what the scene is asking for
- choose a viewpoint that makes the photo easy to read
- adjust your camera settings to match the light and movement
- review quickly, then reshoot with a better plan
A private setup helps because you can ask very direct questions. If your camera feels complicated, this kind of walking lesson tends to break it down. Instead of memorizing settings at home, you see what happens when you change one thing in the field.
Practical tips to bring to the tour (so you get more out of the time):
- Bring extra batteries and check your memory card space before you start.
- If you use a tripod, test the setup ahead of time so you know it locks smoothly.
- Wear something comfortable enough for repeated stops and short bursts of shooting.
The tripod issue: how to avoid losing time with adapters
If you’re planning night shots or longer exposures, this tour can still be a great opportunity—but your gear needs to work. One experience included a rented tripod where the adapter system wasn’t compatible with the camera setup, making it hard to shoot longer shutter speeds without proper stability. The guide offered an alternative solution by helping with transfers to her camera, but the final photos still weren’t what the guest hoped for.
Here’s the practical takeaway: if you have a specialized tripod head, Arca-style plates, or a bracket-and-strap system, confirm compatibility before you show up. The provider notes that their photographer teams carry a Manfrotto Befree tripod that is compatible with most standard camera setups, but unique brackets can require extra adjustments on-site. If your setup is unusual, message ahead so the guide can plan around it.
And if you don’t have a tripod, you can still shoot at night. You just need to be realistic about your shutter speed and ISO and focus on steady framing and light sources—guide coaching helps you choose what’s most likely to work.
Who this masterclass suits best
This is ideal if you want a structured way to photograph Lisbon without building your own plan from scratch. You’ll get value if you:
- are new to photography and want your camera to make sense
- shoot on a smartphone but want stronger city composition habits
- love viewpoints and street scenes and want to combine both
- prefer a personal pace rather than a big group shuffle
It’s also a good fit if you care about getting better, not just collecting photos. The format pushes you to develop your creative vision, not only to copy a preset shot.
If you already know your camera inside out and you just want a list of viewpoints, you might find a self-guided route cheaper. But the private coaching can still be useful if your goal is to sharpen your choices quickly.
Should you book Lisbon Photography Masterclass?
Book it if you want Lisbon photos that look thoughtful, not accidental. The strongest reason is the private photographer-led approach: you visit multiple high-impact areas—Alfama, Portas do Sol, several miradouros, Elevador da Gloria, Bairro Alto, and Lisbon Cathedral—while learning how to handle light, framing, and your camera settings in the moment.
Don’t book it if your main goal is a casual walk with no learning component. Also consider whether you truly need night-long exposure gear. If you plan to rely on a tripod, check compatibility early, because adapter problems can steal your shooting time.
If you’re willing to ask questions and shoot with intention for a few hours, this is the kind of experience that pays off quickly—because you leave with a better eye, not just a folder of images.
FAQ
How long is the Lisbon Photography Masterclass?
It runs for about 3 hours.
Is this experience private?
Yes. It’s a private tour/activity, and only your group participates.
What language is the lesson offered in?
It’s offered in English. The activity may be operated by a multi-lingual guide.
What’s included in the price?
You get a local guide, a professional photographer guide, and the private tour.
Do I need to bring a camera?
A camera is not included. You’ll need to bring your own camera. A tripod is available to rent, but it’s not included.
Where does the tour start and end?
It starts at SOL Restaurante e Jardim, Largo das Portas do Sol, Beco de Santa Helena, 1100-411 Lisboa, Portugal, and ends back at the meeting point.
Does it run in bad weather, and how does cancellation work?
It operates in all weather conditions, so dress appropriately. You can cancel for a full refund up to 24 hours in advance of the experience’s start time.
More Photography Sessions in Lisbon
- Lisbon: Photoshoot with a Professional Local Photographer★ 5.0 · 170 reviews
- Lisbon: Private Tuk Tuk Tour with Polaroid Photos★ 4.9 · 138 reviews
- Lisbon Photoshoot★ 4.8 · 87 reviews
- Photoshoot with a Local Professional Photographer in Lisbon★ 4.5 · 83 reviews
- Romantic Photoshoot Experience for Couples in Lisbon★ 4.9 · 78 reviews
More Private in Lisbon
- True 4Hour Private Tuk Tuk Tour: Discover Lisbon with a Local!★ 5.0 · 8,008 reviews
- Lisbon: Private Guided Tuk-Tuk Tour with Hotel Pickup★ 4.9 · 4,552 reviews
- Private Lisbon Sightseeing Tuk-Tuk Tour: Alfama, Belém & More★ 5.0 · 4,277 reviews
- Lisbon Highlights: Private Tuk Tuk Tour Adventure Sightseeing★ 5.0 · 3,284 reviews
- Welcome Lisbon Tour with Local Guide in Private Eco Tuk Tuk★ 5.0 · 1,691 reviews
More Tour Reviews in Lisbon
- Lisbon City Center Tour – The Unmissable Lisbon★ 5.0 · 22,234 reviews
- Lisbon: Sintra, Pena, Regaleira, Cabo da Roca & Cascais★ 4.7 · 19,656 reviews
- Lisbon Card: 24, 48, or 72-Hour Pass★ 4.5 · 17,944 reviews
- Lisbon: Jerónimos Monastery Entrance Ticket★ 4.1 · 14,164 reviews
- Lisbon: History, Stories and Lifestyle Walking Tour★ 4.8 · 10,902 reviews
Just in: fresh Lisbon reviews from the team




Photography Sessions, compared.
 ★ 5.0Photoshoot with a Professional Local PhotographerFrom $21170 reviews
 ★ 4.9Private Tuk Tuk Tour with Polaroid PhotosFrom $34138 reviews
 ★ 4.8Lisbon PhotoshootFrom $3987 reviews
 ★ 4.5Photoshoot with a Local Professional Photographer in LisbonFrom $4883 reviews
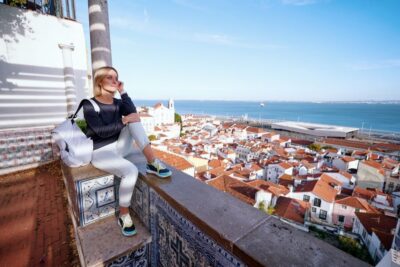 ★ 4.9Romantic Photoshoot Experience for Couples in LisbonFrom $7378 reviews
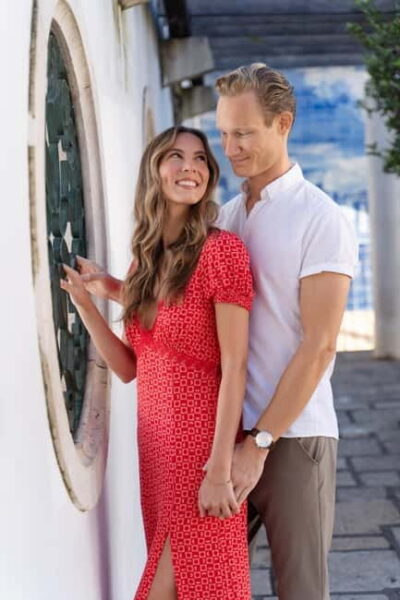 ★ 5.0Alfama: Unforgettable Photoshoot Experience with a LocalFrom $8177 reviews
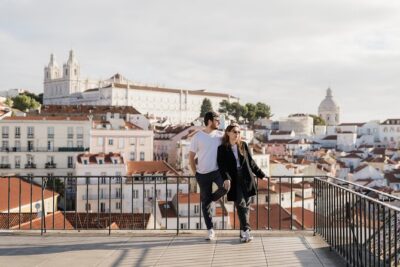 ★ 5.0Lisbon Cinematic Photoshoot with Top-Rated PhotographerFrom $10276 reviews
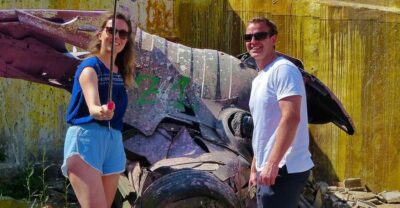 ★ 4.92-Hour Street Art Photo TourFrom $6043 reviews
Browse the lists this tour appears in